In the world of nail care and styling, gel nail stickers have become an innovative and popular option. Whether you’re a busy professional, a mom with little time, or someone who simply loves a polished look, gel nail stickers offer a quick and easy solution to beautifully polished nails. In this blog, we’ll dive deeper into what gel nail stickers are, their benefits, how to apply them, and tips for getting the best results.
What are gel nail stickers?
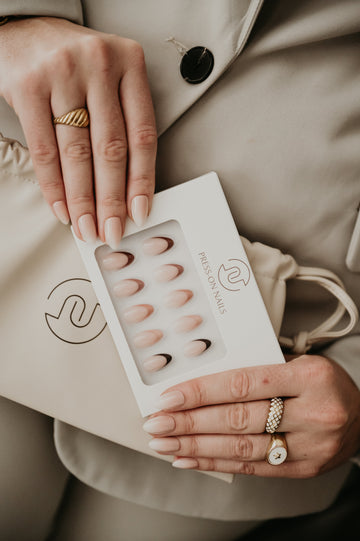
Gel nail stickers are thin, flexible stickers that are designed to be applied to the nails. They are made of a special gel material that resembles traditional gel polish, but without the hassle of using a UV lamp to cure it. These stickers come in a variety of colors, patterns, and finishes.
Benefits of gel nail stickers:
1. Time-saving: Applying gel nail stickers takes a fraction of the time compared to traditional nail polish or gel polish. You don't have to spend hours in the salon or learn complicated techniques yourself.
2. Easy to apply: Gel nail stickers are easy to apply. You just have to choose the sticker you want, stick it on your nail and cut it off if necessary.
3. Durable: Our gel nail stickers are designed to last a long time, often up to two weeks or longer, without chipping or fading.
4. Versatility: From simple, elegant designs to bold, colorful patterns, there are gel nail stickers for every style and occasion. This makes it easy to customize your nails to match your outfit or mood.
5. No Harmful Chemicals: Our gel nail stickers are free from harmful chemicals such as formaldehyde and toluene, making them a healthier choice for your nails.
How to apply gel nail stickers?
1. Preparation: Start with clean, dry nails. Remove old nail polish and make sure your nails are well buffed. This will ensure better adhesion of the stickers.
2. Choose the right size: Choose stickers that fit the size of your nails. Most kits come with different sizes so you can make the best choice.
3. Apply: Peel the sticker from the back and carefully apply it to your nail. Start from the base of the nail and work your way to the tip. Make sure there are no air bubbles under the sticker.
4. Trim: If necessary, trim off any excess sticker at the edge of your nail for a neat finish.
5. Finishing: For extra durability, you can apply a top coat over the sticker. This also helps to maintain the shine.
Tips for the best results
- Avoid water: Try to avoid water contact for the first few hours after application to improve adhesion.
- Use a base coat: Applying a base coat can help the stickers adhere better and extend their lifespan.
- Take care of your nails: Keep your nails hydrated and healthy to ensure the stickers stay in place.
Conclusion
Gel nail stickers are a fantastic solution for anyone looking for a quick, easy and stylish way to care for their nails. Their ease of use and versatility make them the perfect choice for busy lifestyles. Give them a try and see how easy it is to always walk around with beautiful nails!